|
Karmann Cheetah No.29 Restoration by Clare and Marv Jennings
Page 12 |
|
| This is the restoration of Cheetah No.29 expertly done by Marv and Clare. Although the Cheetah had been repaired in the past, these repairs did not last and a full restoration was required. The restoration started on the 8th December 2013. |
|
|
|
|
|
|
||
 |
 |
|
|
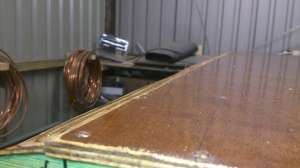
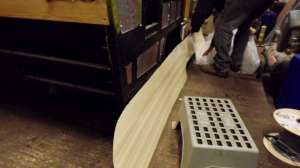
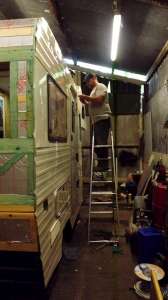
265. The rear transition slip. This gently slopes from the proud 9mm ply roof level with the framing at the rear and prevents a crease occurring in the new ali roof skin. |
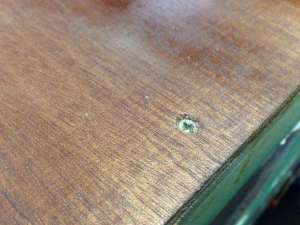
266. The ply roof is crewed into the roof framing. |
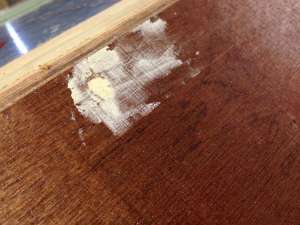
267. Screw heads are filled in. |
 |
 |
|
|
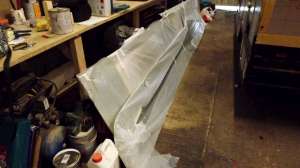
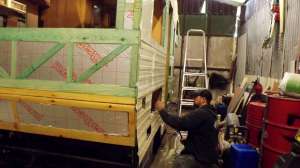
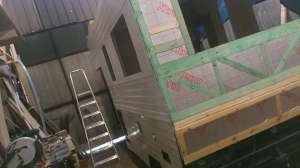
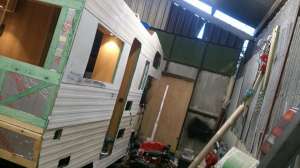
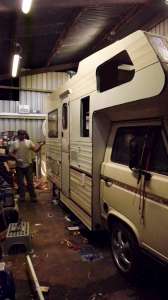
268. The side panels arrive back from the paint shop. |
269. Refitting the nearside side ali panels. As always, the first panel is the top panels and working down to the bottom. |
270. Job done. |
 |
 |
|
|
271. Nice and shney. |
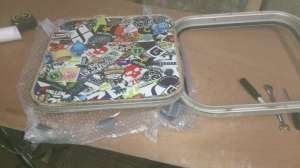
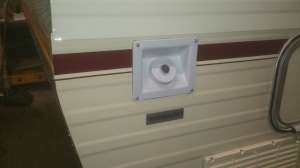
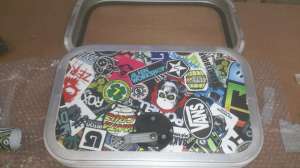
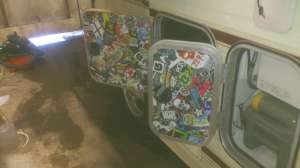
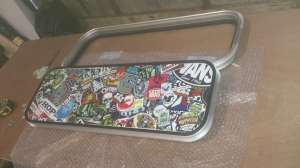
272. Gas locker door prepared for fitting. |
273. Toilet cassette access door. |
 |
|
|
|
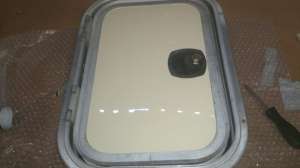
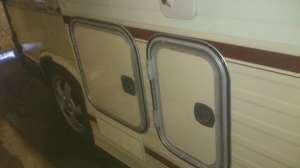
274. Cleaned and ready. |
275. Both doors are fitted to the Cheetah, |
276. Looks smart! |
|
|
||
|
|
 |
|
|
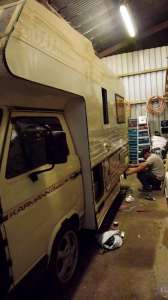
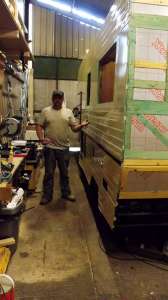
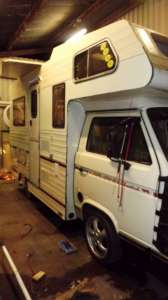
277. Standing back to admire the view. |
278. Work starts mounting the offside ali panels. Top panel being readied for mounting. |
279. Offside complete. Work from the top panel downwards to the bottom |
 |
 |
|
|
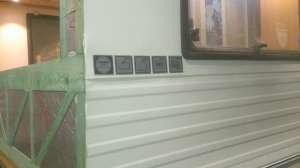
280. Checking. |
281. New utility decals are put on. |
282. Offside locker door. |
 |
 |
|
|
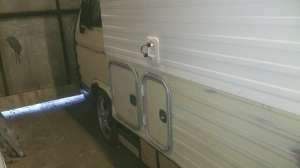
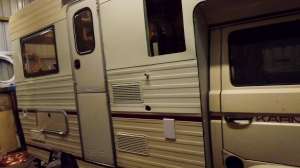
283. These locker doors are sealed to the van in the same way as the windows. Double sided take and Sika 710. |
284. Water filler point in and sealed with Sika 710 |
285. The offside almost complete. |
 |
|
|
|
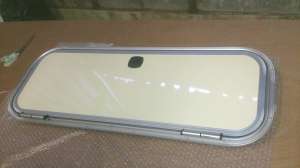
286. Fitting the overhead can side window. |
287. All done. |
288. Nice. |
<-- Previous Page | Next Page -->
Or select a page: 1 - 2 - 3 - 4 - 5 - 6 - 7 - 8 - 9 - 10 - 11 - 12 - 13 - 14 - 15 - 16 - 17 - 18 - 19
<--Click here to return to the Main Index