|
|
|
|
|
|
|
|
 |
 |
 |
|
|
|
|
|
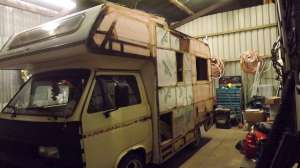
1.
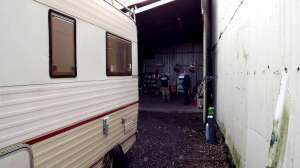
Prior to any work being started, Clare
& Marv
located a dry and secure unit
in which
to perform the restoration.
|
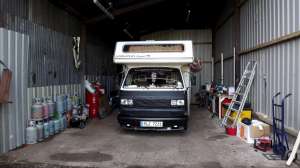
2. Plenty of room in which to do the
work.
|
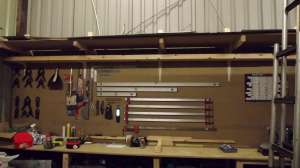
3. A good selection of tools are required. |
|
|
|
|
 |
 |
 |
|
|
|
|
|
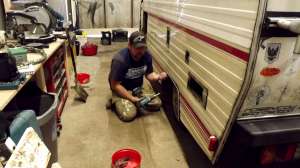
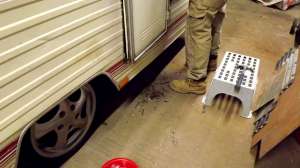
4.
The restoration starts with removing
all of the external vents, lockers and trims. Here we see Marv
removing the
wheel arch trim. |
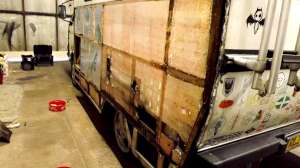
5.
With all the 'furniture' removed, the
ali
panels are removed starting from
the
bottom panel and working towards
the top. |
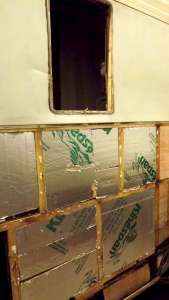
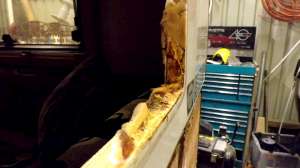
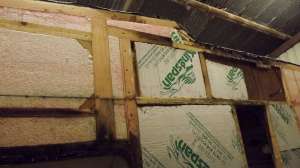
6. This is not the original insulation used
by Karmann so evidence this Cheetah
has been repaired previously. |
|
|
|
|
 |
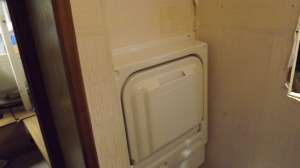 |
 |
|
|
|
|
|
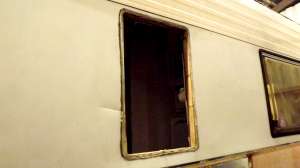
7. Bathroom window removed, side
lounge window will be next. |
8. The bathroom sink will be re-used. |
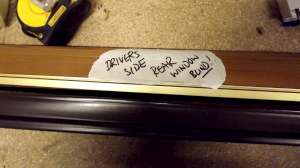
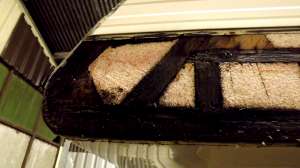
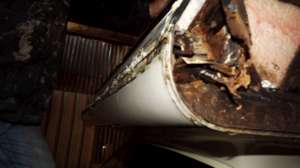
9. Rear nearside lounge window removed.
This doesn't look nice! |
|
|
|
|
 |
 |
 |
|
|
|
|
|
10. Everything removed from the
Cheetah is labelled and bagged. |
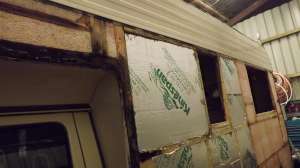
11. The overhead cab wall exposed. Nicely
rotted. |
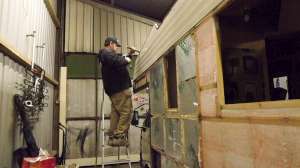
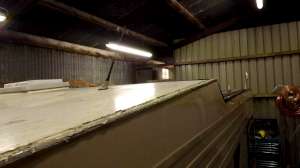
12. Another view. |
|
|
|
|
|
 |
 |
 |
|
|
|
|
|
13.
Another long panel is removed.
More evidence of the previous repair.
|
14. With just the top side panel to
remove, Marv bends up the 5mm
overlap on the roof ali to aid it's
removal.
|
15.
Ready for the top panel to be removed. |
|
|
|
|
 |
 |
 |
|
|
|
|
|
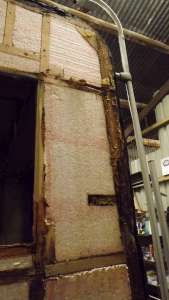
16.
Top panel is now off. Not a clever repair. |
17.
The back rear corner. Doesn't look pretty. |
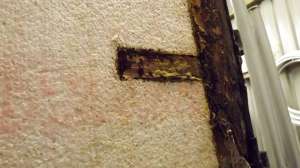
18.
Close-up picture. |
|
|
|
|
 |
 |
 |
|
|
|
|
|
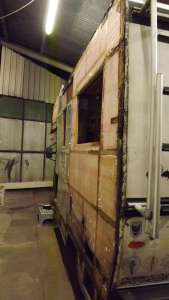
19. The nearside stripped. |
20.
another view. |
21.
Work starts on the offside and stripping off all the furniture. |
|
|
|
|
 |
 |
 |
|
|
|
|
|
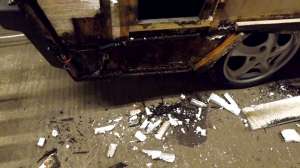
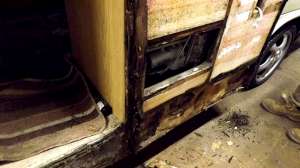
22.
The bottom ali panel removed. |
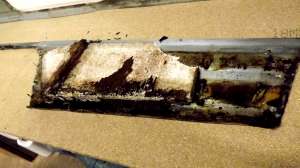
23.
Quite severe rot in the rear lower corner. |
24.
Further forward towards the front - the step and kitchen wall bottom. |
|
|
|
|
