|
Karmann Gipsy Restoration
Grenville Strickland
Page 10 |
|
|
|
|
|
|
|
||
 |
 |
|
|
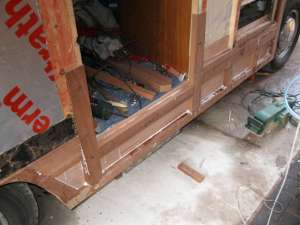
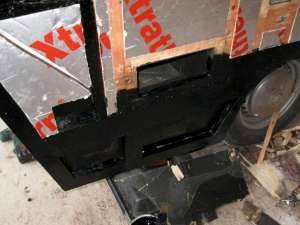
109. 31st MARCH 2011. The front offside lower section is glued and stapled together. 3.5mm plywood is shaped for the backing board and is then glued and stapled to the new mahogany framework. |
110. The rear offside glued and stapled with the plywood backing. The coachbolt holes have yet to be drilled. |
111. It might look ugly but once again the wood is painted to protect it from the elements. Once this section is bolted up, this side of the van will be complete and the alloy side panels and fitments can be put back on. |
 |
 |
|
|
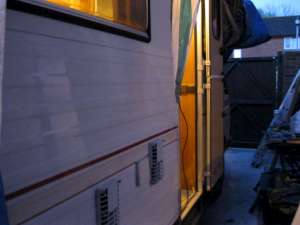
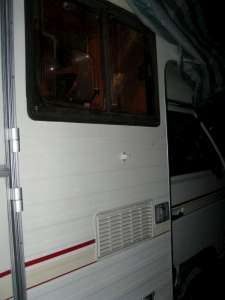
112. What a productive day! Rather than finish the bottom, I thought I'd re-skin the offside. All the panels were fixed and stapled, then the windows went in, the door put back in. Then the majority of the fitments along the side. |
113. There are finishing touches still to do. For instance, two vents to fix on, door hinges covers, awning holders etc. But it's looking good. Very good. |
114. The Hot water boiler vent and central heating vent caused some problems putting on. Oddly enough they are identical, so no idea why they were problematic. |
 |
 |
|
|
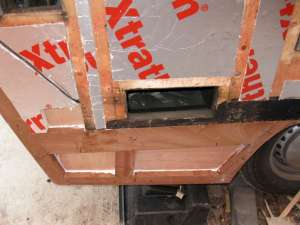
115. The kitchen wall showing the upper fridge vent and Gas vent. |
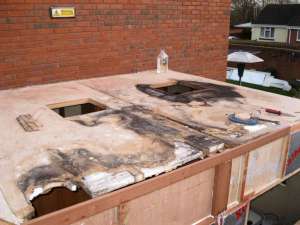
116. 2nd APRIL 2011.The top rail over the bathroom is done. Although it looks a straight piece of wood, it isn't! |
117. The bathroom wall finished. Just the gas locker to shape up with the router. |
 |
|
|
|
118. The other end of the top rail extending into the lounge area. |
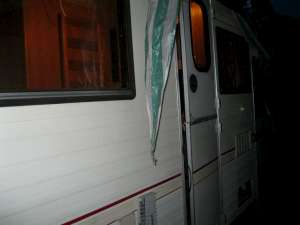
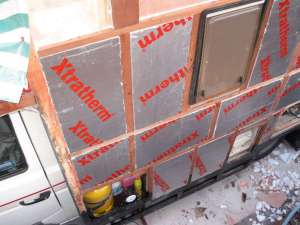
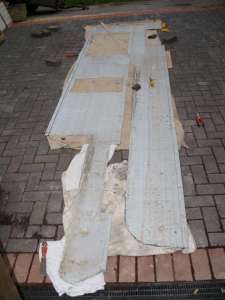
119. 4th APRIL 2011. Despite the blustery day, we decided to replace the side panels on the nearside. These panels are so flimsy and long, that even the slightest of breezes can result in the panels being creased. However with rain forecast for tomorrow, it was decided they had to go back on. Here the panels are being prepared for mounting |
120. As the task is fairly intense, no further photo's until all 4 panels have been fixed to the side of the Gipsy and the windows fixed into place. The toilet cassette access door and rear locker door are only mounted in temporarily. |


<-- Previous Page | Next Page -->
Or select a page: 1 - 2 - 3 - 4 - 5 - 6 - 7 - 8 - 9 - 10 - 11 - 12 - 13 - 14 - 15
<--Click here to return to the Main Index