|
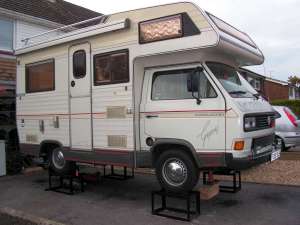
Another Karmann Gipsy 1.9 TDi Conversion
Grenville Strickland |
|
|
Page 3 - Dropping the JX engine and fitting of parts to the 1Z |
||
|
Click on the thumbnails for a bigger image
|
||
 |
 |
|
| 47. The first task was to get the Gipsy up high enough to allow all the work to be done. | 48. Oily gearbox! The gearbox is drained of oil. |
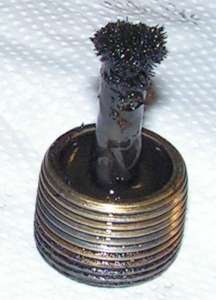
49. The magnetic gearbox drain bung. |
 |
 |
|
| 50. Out comes the first item - the battery | 51. Coolant is drained and all pipes disconnected from the engine. |
52. Air filter removed and loads of other bits disconnected and removed. |
 |
 |
|
|
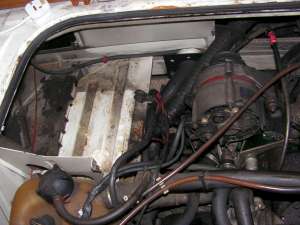
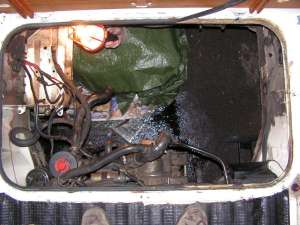
53. At last the old engine is out. |
54. Revealing a very dirty engine bay |
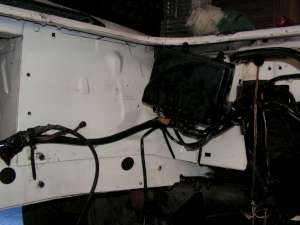
55. Not too bad this side, but it'll all need cleaning. |
 |
 |
|
|
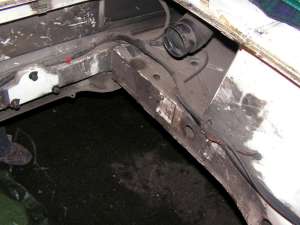
56. There'll be some repainting to do too. |
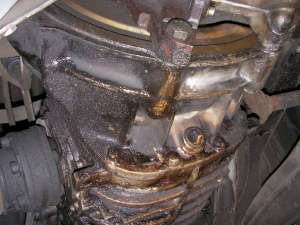
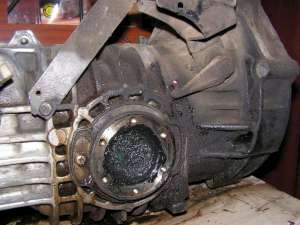
57. The gearbox bell housing after the old engine is removed.. |
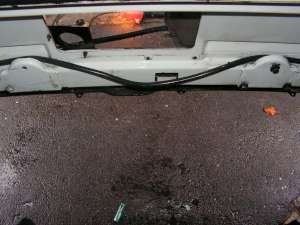
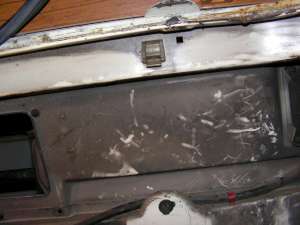
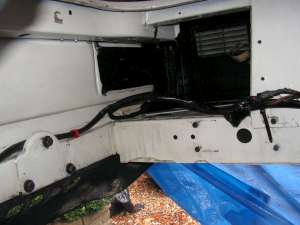
58. The back panel of the engine bay. This'll give you some idea of the dirt involved. |
 |
 |
|
|
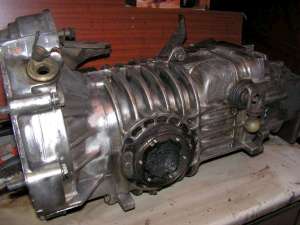
59. The gearbox is taken down to my workshop at the bottom of the garden and the cleaning starts. |
60. And slowly but surely it becomes cleaner and ready for a trip to Swansea where Tudor and Mike will fit the new gearbox input shaft. |
61. The engine bay after some cleaning. looks much better now, but still plenty to do. |
 |
 |
|
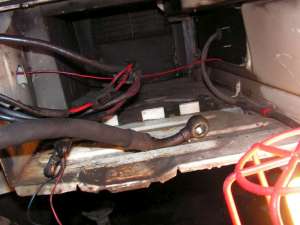
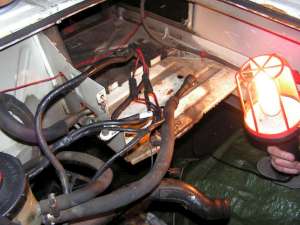
| 62. The initial idea was to move the electrical junction box, but in the final version it stayed where it is. | 63. The back of the engine bay - just needs some polishing! Right enough of this cleaning, onto the interesting bits. |
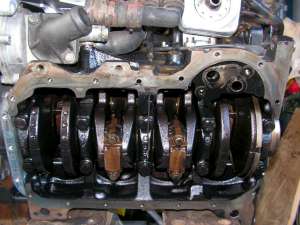
64. The sump is removed from the 1Z engine and discarded. |
 |
 |
|
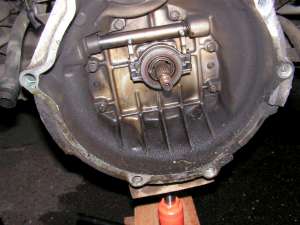
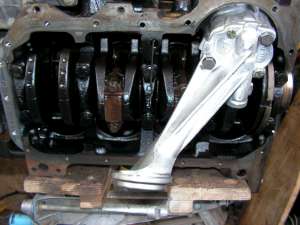
| 65. The crankshaft seal is removed and discarded. | 66. New Oil pump fitted. |
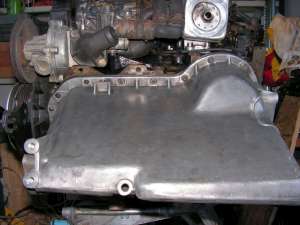
67. The sump from the old 1.6 JX is fitted to the 1Z engine. |
 |
 |
|
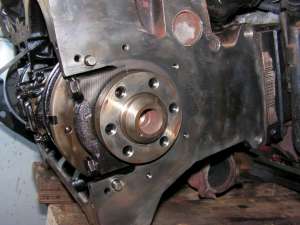
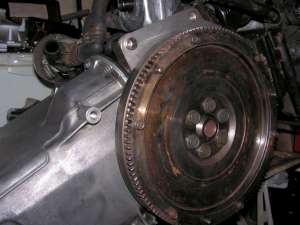
| 68. New crank oil seal and housing (JX part) is fitted along with the new HA Projekt upper engine plate. | 69. The flywheel is then fitted with new bolts. The surface will be cleaned up prior to fitting the friction plate. |
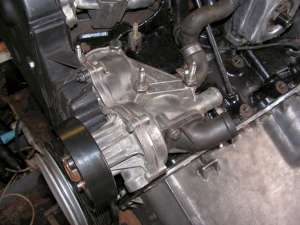
70. The JX water pump was better than the 1Z unit, so it was fitted along with the new water pump pulley. |
 |
 |
|
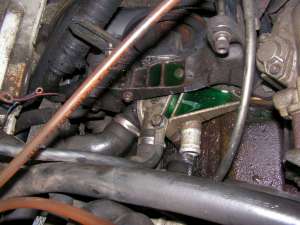
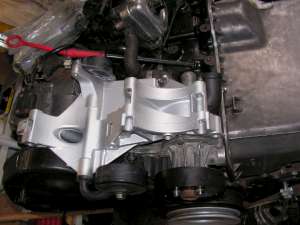
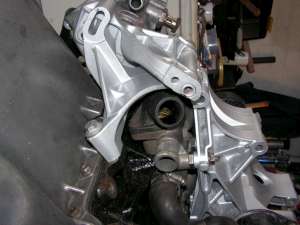
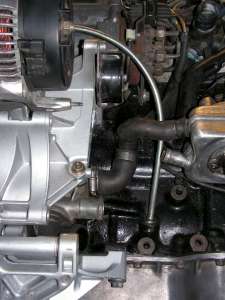
| 71. Alternator bracket fitted after modification. | 72. Note the cut-away made to accommodate the JX thermostat outlet pipe, Without this mod the rubber feed pipe would rub away. |
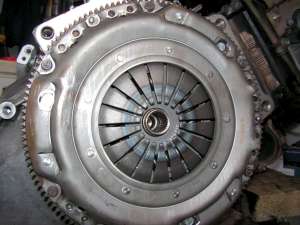
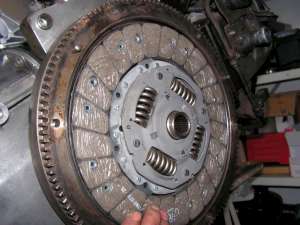
73. New clutch fit fitted. |
 |
 |
|
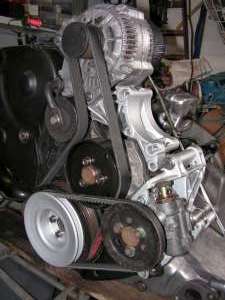
| 74. New clutch pressure plate. | 75. Beginning to look like a proper engine again |
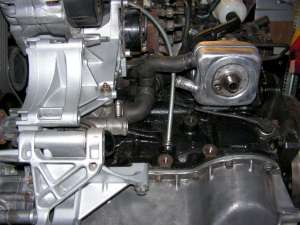
76. The alternator bracket is modified to allow the original JX dip-stick tube to sit correctly. The bottom of the original 1Z dip-stick tube is used to provide a snug fit into the engine block. |
 |
 |
|
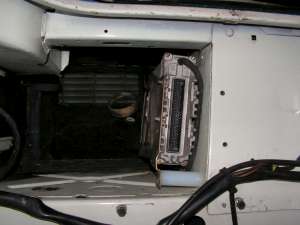
| 77. Another view. | 78. The ECU is mounted behind the back wheel arch. | |

Or Select Page: 1 - 2 - 3 - 4 - 5
<--Click here to return to the Main Index