|
Karmann LT Distance Wide Restoration
Stephen Calvert
Page 03 |
|
|
Work continues on the overhead cab and further......... |
|
|
|
|
|
|
||
|
|
 |
|
|
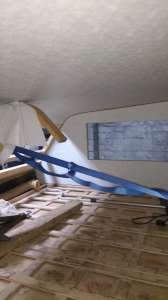
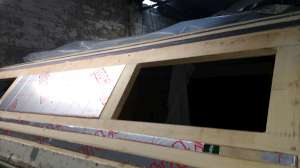
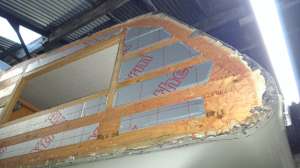
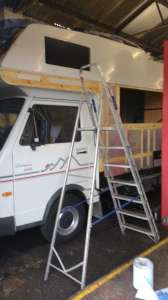
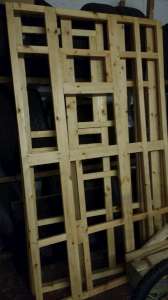
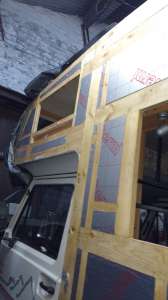
102. Work continues on the overhead cab area. |
103. |
104. Welting on on, new cab roof is shaped and the new front wall is offered up. |
 |
 |
|
|
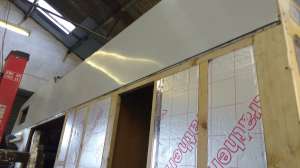
105. New ceiling board glued to the front wall. |
106. Another view. |
107. Front wall attached to the front and curtain valance is fixed into position to cover the joint between the ceiling and the front wall. |
 |
 |
|
|
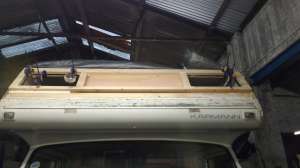
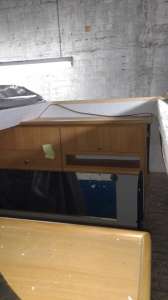
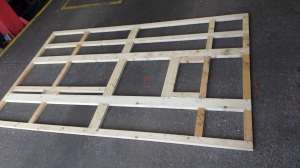
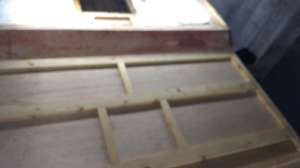
108. Attention now turned to the main roof section. |
109. First of the main roof framing is made. |
110. The original kitchen slant is used. |
 |
|
|
|
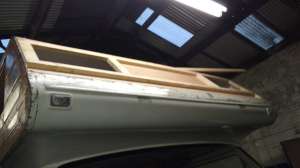
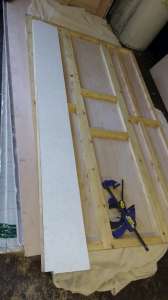
111. 45o angle on the front roof s ection where it will meet the kitchen slant. |
112. All roof sections ready for the ceiling board to be applied. |
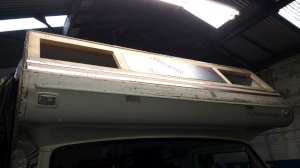
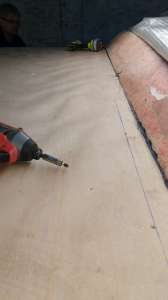
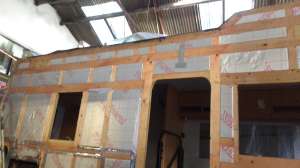
113. Ceiling board applied, skylight and roof vent cut out and the new framing is fixed to the Distance Wide. |
 |
 |
|
|
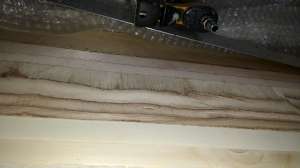
114. Insulation is cut and inserted. |
115. The rear of the roof. |
116. Insulating the front overhead cab front wall. |
 |
 |
|
|
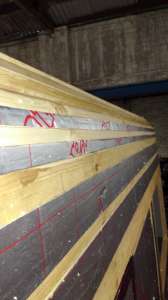
117. All gaps are insulated including the small gap. |
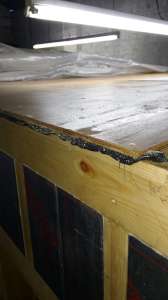
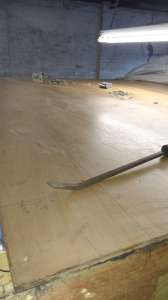
118. With all the roofing insulation in, the new 9mm plywood roof is put into the van. |
119. Sika 710 is used along the edges between the framing and the plywood. |
 |
 |
|
|
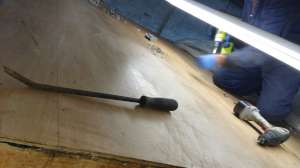
120. Stoll working on the roof. |
121. Sika 710. |
122. Sika used in the joint between the 9mm plywood roof and the kitchen slant. |
 |
 |
|
|
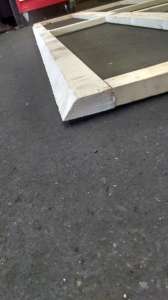
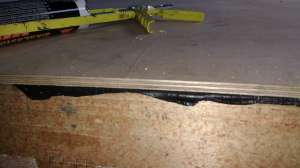
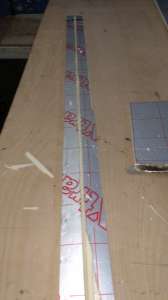
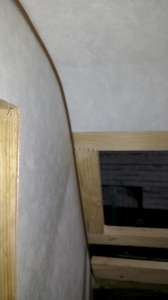
123. Roof transition strip. This wedge shaped slip transitions the 9mm plywood roof to the curve on the back end. |
124. Insulation in the rear roof curve. |
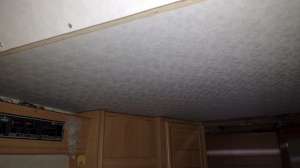
125. Viewing the new roof from the inside. |
 |
 |
|
|
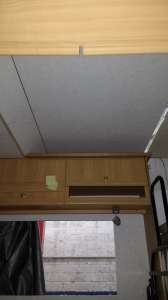
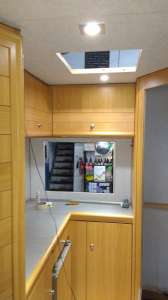
126. Inside the rear cupboard. |
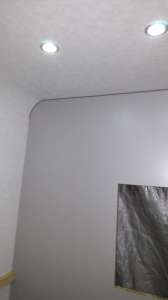
127. New down-lighters in the bathroom. |
128. New down-light over the kitchen. |
 |
 |
|
|
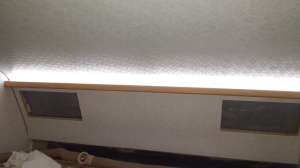
129. LED strip on the top of the curtain pelmet. |
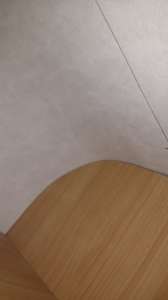
130. The kitchen slant from the inside. |
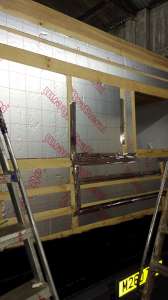
131. With the roof finished fitting the insulation onto the sides begins. |
 |
|
|
|
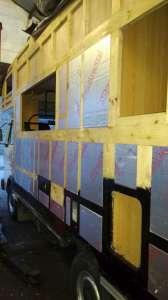
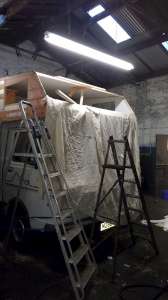
132. It's a long and quite tedious task. |
133. Rear nearside almost complete. |
134. At last the insulation job is done. |
|
|
||
 |
 |
|
|
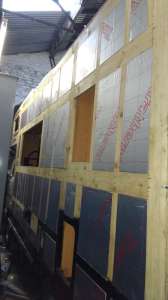
135. Nearside done now for the..... |
136. .............offside. |
137. Done. |
 |
 |
|
|
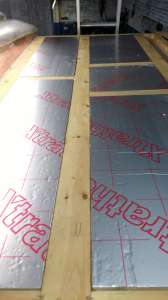
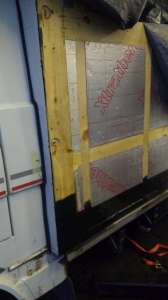
138. More Xtratherm. |
139. To get the Xtratherm around the back end curve of the roof and groove is cut in the insulation. |
140. Filling in all the gaps. |
 |
 |
|
|
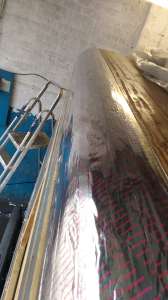
141. Back wall done. |
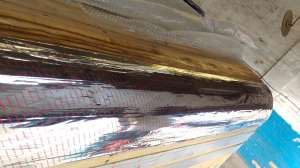
142. Foil placed over the back curve will keep the insulation in position. |
143. View from the other side. |
 |
 |
|
|
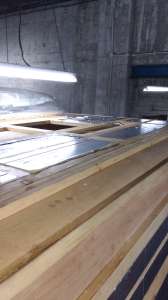
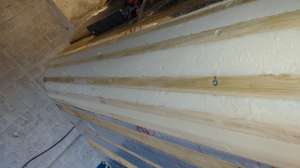
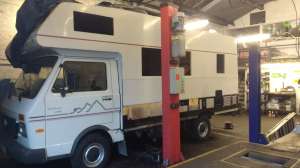
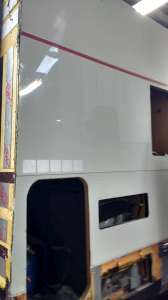
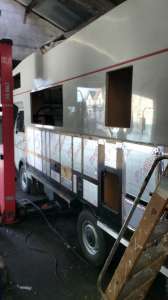
144. The aluminium panels start to go back on. The top panel is always fitted first. |
145. The next panel down slip up and into the Dutch fold and so on. |
146. As each panel is put into position, the bottom of the panel is stapled to the framing. |
 |
|
|
|
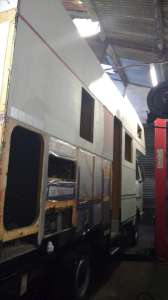
147. Just the bottom Aluminium panel to go. |
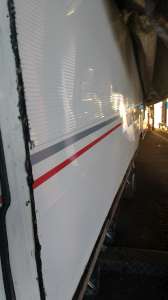
148. View along the panel length. |
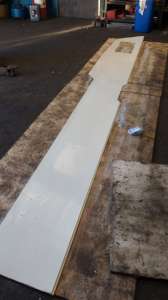
149. Each panel is checked and cleaned before fitting begins. Offside top panel ready to be fitted. |
 |
 |
|
|
150. The same procedure as for the nearside. |
151. Just the lower panel to go. |
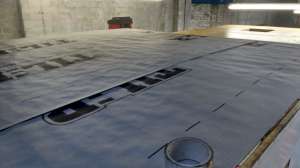
152. The main roof complete and ready for the new roof aluminium. |


<-- Previous Page | Next Page -->
Or select a page: 1 - 2 - 3 - 4 - 5
<--Click here to return to the Main Index