|
Karmann LT Distance Wide Restoration
Stephen Calvert
Page 01 |
|
|
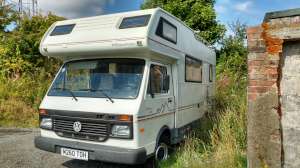
This Karmann LT Distance Wide was imported after being used around the Mediterranean for while and then sold when the owners returned to England.
Stephen's initial excitement of his purchase turned into a bit of a nightmare for him. He knew the bathroom needed stripping out and redoing but as this work progressed he found the van has some serious frame wood rot that the seller may or may not have knew about (where have we heard that before?).
With the encouragement of the Karmann community Stephen bit the bullet and started this restoration in 2015.
As you will see from the final result, this restoration was performed to a very high standard - mostly because of Stephen's attention to detail. |
|
|
|
|
|
|
||
|
|
 |
|
|
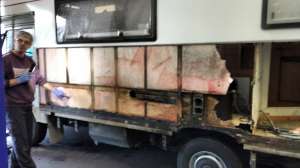
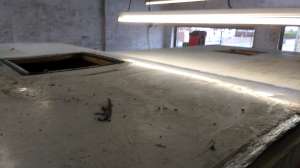
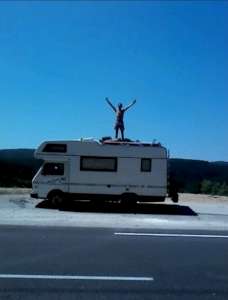
1. The previous owner demonstrating how strong the roof was. |
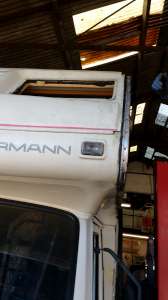
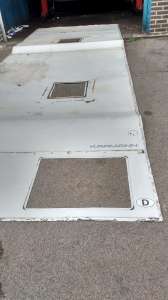
2. The Distance Wide was re-registered in England. |
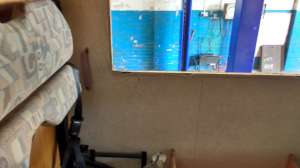
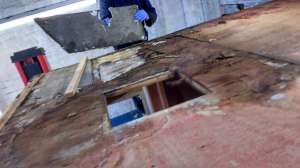
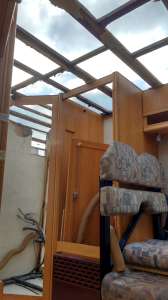
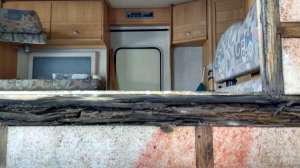
3. Knowing the bathroom needed some work, the bathroom is stripped. This was not expected. |
 |
 |
|
|
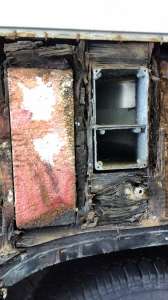
4. More stripping of the bathroom reveals yet more problems. |
5. The interior bathroom wall. |
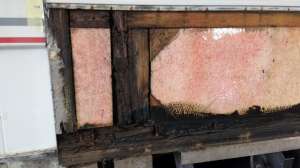
6. Once the bathroom paper and boarding was removed it showed the rot wasn't just around the cassette access door. |
|
|
||
|
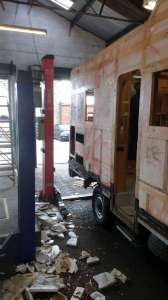
At this stage it becomes apparent that the Distance Wide needs more than just a bathroom refurbishment. After some deliberation Stephen decides he needs to remove all the aluminium panels and roof to determine the full extent of the rot - then to fix it.
|
||
|
|
||
 |
 |
|
|
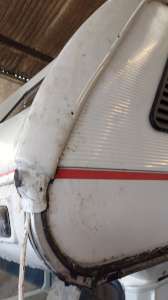
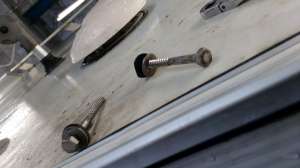
7. This front trim caused some head scratching. |
8. All the screws had been removed but it still refused to come off. |
9. Finally the side trim is off and the front mask is removed. |
 |
 |
 |
|
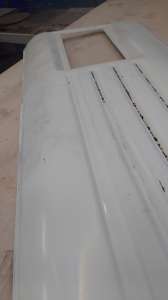
10. Overhead cab windows removed and ali edging insert tape removed. |
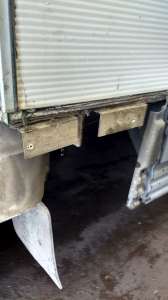
11. The bottom side plastic trim panel removed. |
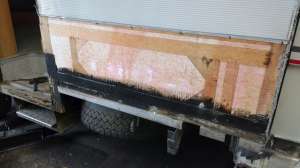
12. The first of the aluminium panels removed to reveal more rot. Removal of the panels always starts with the lower panels first. |
 |
|
|
|
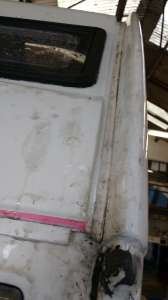
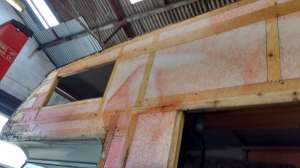
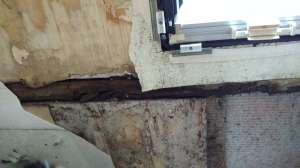
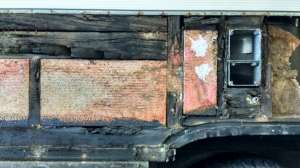
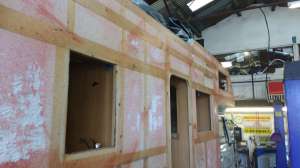
13. More dark area indicating frame rot. |
14. Another side view. |
15. Pretty bad in this area too. |
 |
 |
|
|
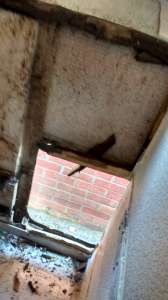
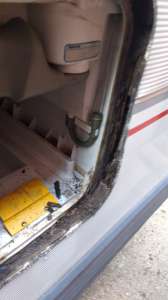
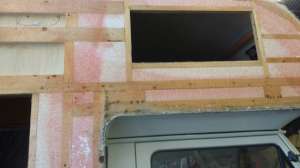
16. The boiler vent hole. |
17. From the inside, this window frame looks good. |
18. But viewed from the other side shows it's not as good as it seems. |
 |
 |
|
|
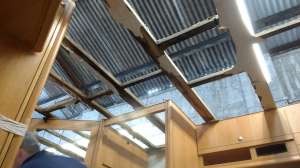
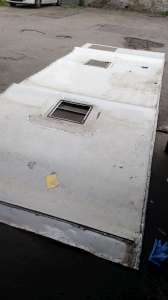
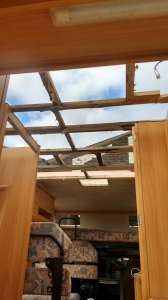
19. The roof rails are removed.... |
20. Along with the skylights. |
21. The aluminium roof is removed. |
 |
 |
|
|
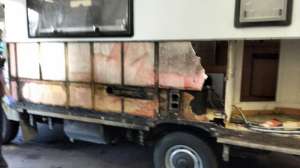
22. As viewed from the back towards the front. |
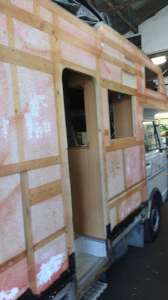
23. All the nearside aluminium panels are now off.
|
24. The front of the overhead cab. Some area's look OK. |
 |
 |
|
|
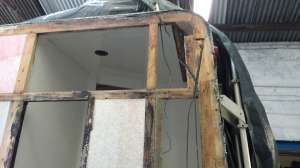
25. The over head cab wall. |
26. From another angle. |
27. View the overhead cab wall from further towards the rear of the van. |
 |
 |
|
|
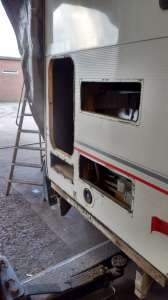
28. The rear nearside upper corner. |
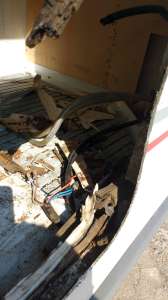
29. With the nearside stripped down, work begins on the offside. Locker door, fridge vents and other vents are removed. |
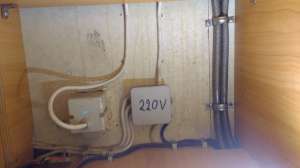
30. The electrical trip switch is removed from the wall but the wiring remains connected. |
 |
|
|
|
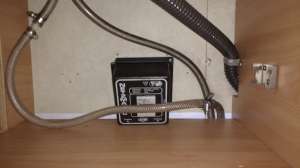
31. Disconnecting the 240v input socket and the distribution box from the wall. |
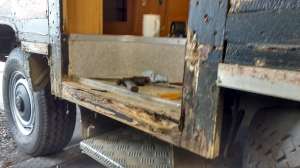
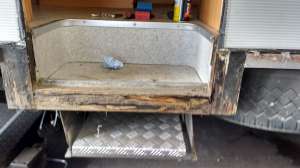
32. The lower plastic trim removed along with the lower aluminium side panel. The side step has seen better days. |
33. Closer view of the side step. |
|
|
||
 |
 |
|
|
34. Further towards the front of the Distance Wide looks fine. |
35. Good framing on the rest of the side. |
36. The upper part of the offside. All is good. |
 |
 |
|
|
37. Clean framing on the rear corner. |
38. The upper part of the overhead cab frame. |
39. And the lower half. All is good here too. |
 |
 |
|
|
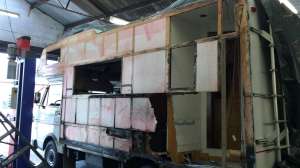
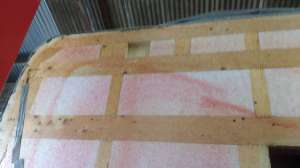
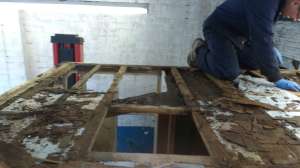
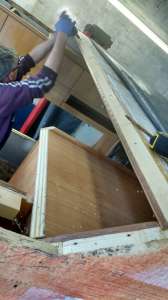
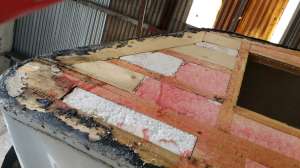
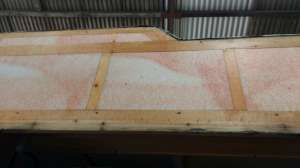
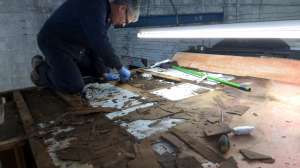
40. With the side panels off, the roof off, now is the time to start stripping the roof starting with the 9mm plywood. |
41. Working from the back and moving towards the front of the van. |
42. This is done to expose the structure of the roof framing so it can be copied. |
 |
 |
|
|
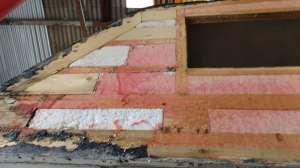
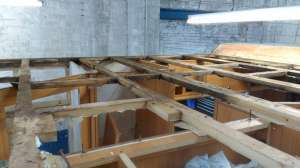
43. Debris from the roof. |
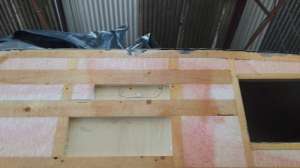
44. Roof framing now exposed. |
45. This framing will be copied with fresh wood. |
 |
|
|
|
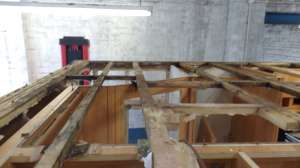
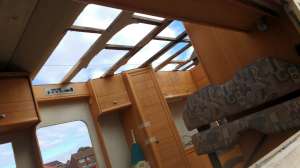
46. Viewed from the inside the roof structure exposed. |
47. Another view from the inside |
48. And another! |
 |
 |
Now the Distance Wide is stripped down, time to start repairing it. |
|
49. One more. |
50. Kitchen slant has been removed and work begins on removing the overhead cab roof. |
|
Or select a page: 1 - 2 - 3 - 4 - 5
<--Click here to return to the Main Index